
Android eSIM: How to Check Phone and Carrier Support
Check the exact Android phone, the carrier activation path, and which lines can stay enabled before you buy or transfer an eSIM.
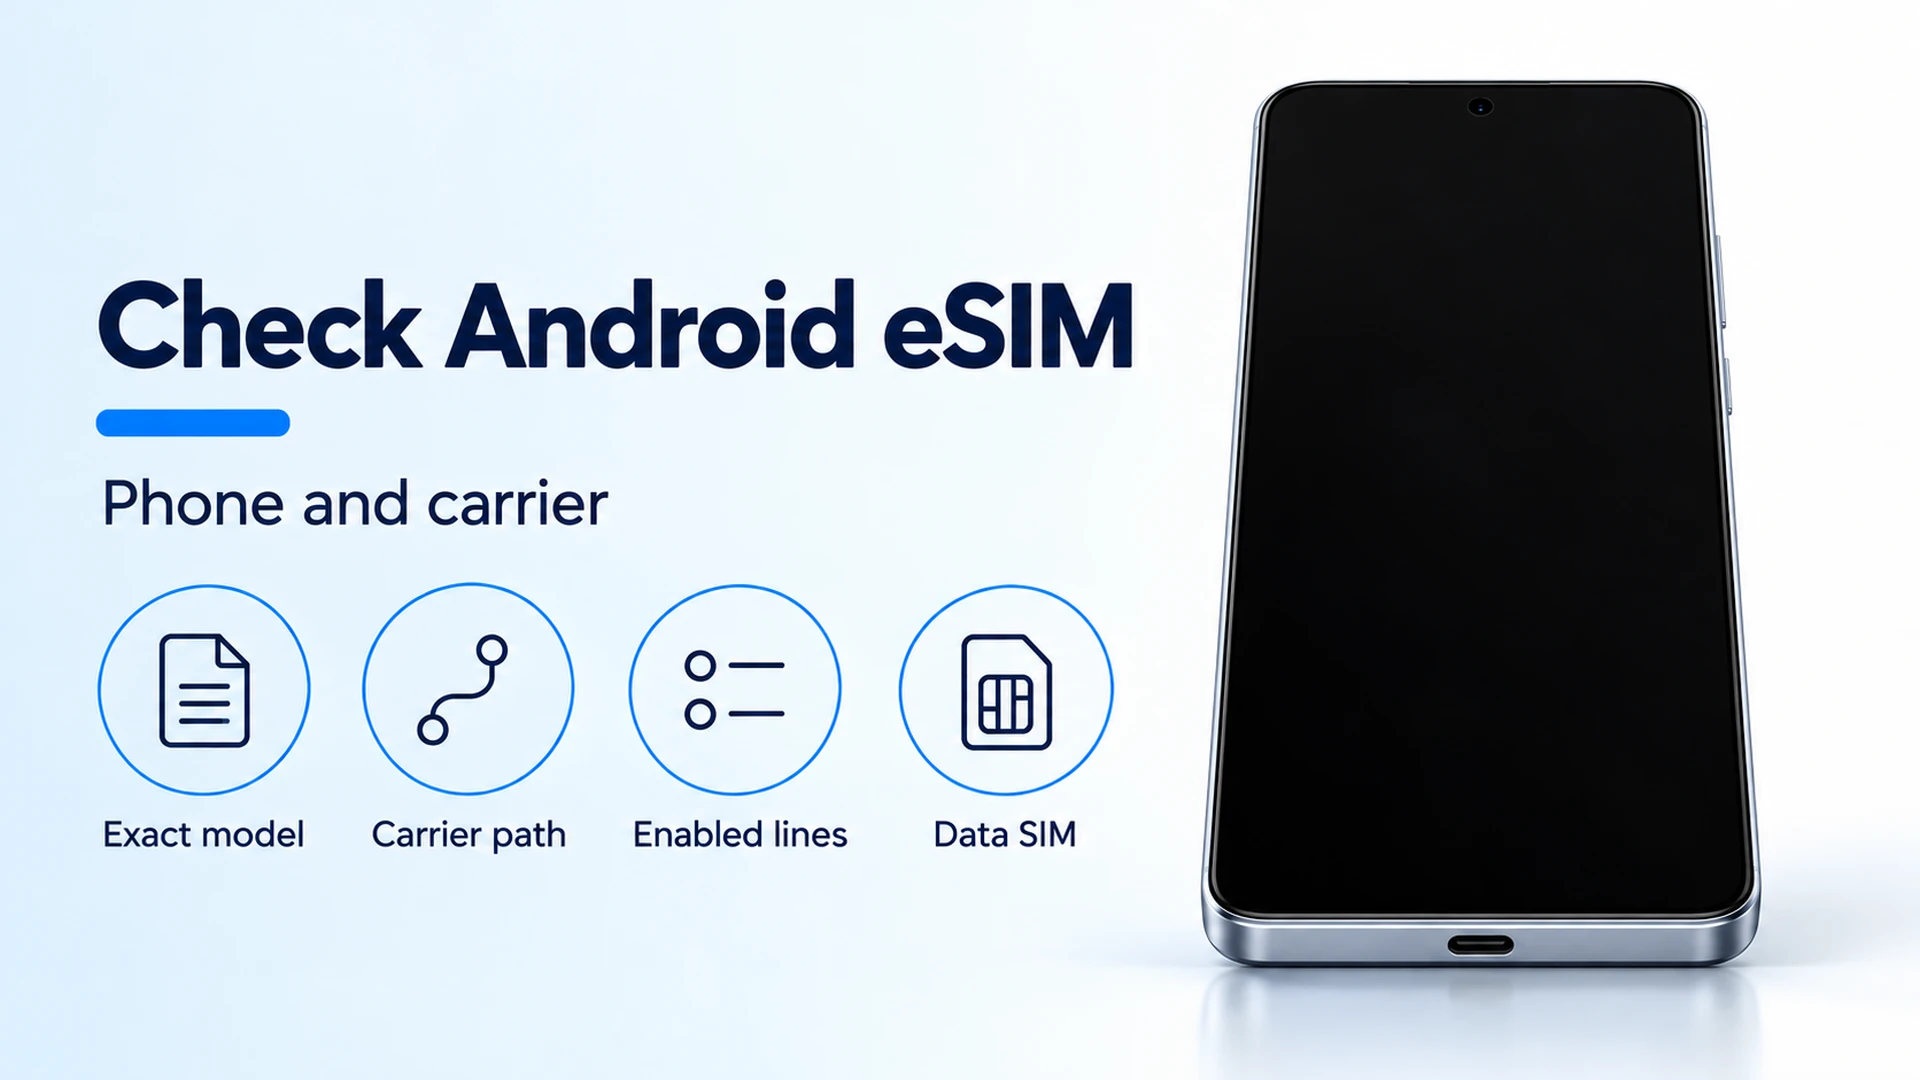
Exact model, carrier path, enabled lines, and the data SIM are the four checks. The phone is an example handset, not a named model.
A failed Android eSIM support check wastes the plan and can take the only working line down during a transfer. Check the exact phone on the maker’s page, then the carrier’s activation path for that account, then which lines can stay enabled together.
Start from the Android compatibility collection and write down the model, the country of purchase, and the job of the line: new service, a number move, or a second line beside one you already use.
An Android eSIM support check is three passes: the handset, the carrier path, and the lines that stay enabled. eSIM (eUICC) means the phone downloads a carrier profile instead of using a physical SIM. Android has offered eUICC APIs since Android 9. Android 10 can support more than one eSIM only when the phone has more than one eUICC, and Android 13’s multiple enabled profiles still need the maker to integrate the chip. Pixel support changes by model and by where the phone was sold. Samsung’s US page says country of origin can remove eSIM, and its Australian page (updated September 21, 2026) covers Australian variants only. Verizon’s monthly FAQ requires an unlock from any other carrier, which can take up to 24 hours. T-Mobile’s prepaid eSIM app activates a prepaid line only, and only in the United States.
- Android 9 is the platform floor for eUICC APIs. It is not a yes for your model.
- Android 12 and lower, without multiple enabled profiles, keep a single enabled profile on that eSIM slot and do not provide dual-SIM dual standby there.
- A stored profile, an enabled profile, and the default data line are three different settings.
- Give the carrier the identifier its form asks for. On Pixel phones that can be IMEI 1, IMEI 2, or the EID.
Split the failure before you pay
Scroll horizontally to see all columns.
| Check | Pass condition from the cited page | Dominant failure mode | Prevention |
|---|---|---|---|
| Handset and market | The maker’s page for that model and market shows eSIM, or Embedded-SIM under SIM size | A series name, or a variant from another country | Save the model, the market, and the URL. Samsung Australia: open the device spec, then Network/Bearer, and look for Embedded-SIM. That page was updated September 21, 2026, and it covers Australian variants. |
| Carrier path | The carrier accepts this phone for this account type | Using a prepaid app for a postpaid line, or activating before an unlock has taken effect | Verizon’s monthly FAQ is not the prepaid path. T-Mobile’s prepaid app cannot activate a postpaid line. After a non-Verizon unlock, Verizon says activation can take up to 24 hours. |
| Enabled lines | The phone and the carrier both allow the combination you need | A second downloaded profile that never attaches beside the first | Android 13 multiple enabled profiles still need the maker’s chipset integration. Pixel phones use two eSIM profiles at once only on Pixel 7, Pixel 7 Pro, or later, and only when the carrier allows it. |
| Data and calls | You set the line for data, calls, and texts | Assuming both lines place calls and carry data at once | On Pixel phones only one SIM is the default for data. On Pixel 8 and Pixel 8 Pro and earlier, a call on one SIM sends calls to the other SIM to voicemail. |
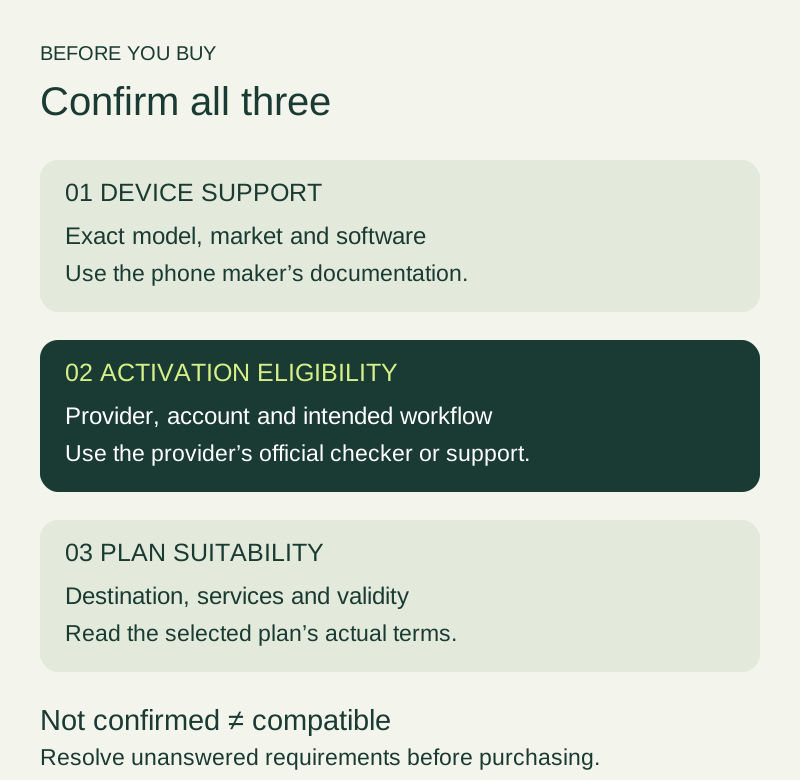
Figure 1. Device support, activation eligibility, and plan suitability are separate checks. An unknown answer is not a pass.
Rule of thumb. If the phone reports Android 12 or lower and the maker does not document a second eUICC or multiple enabled profiles, treat that eSIM slot as one enabled profile at a time. AOSP’s non-MEP diagram says that slot cannot do dual-SIM dual standby. Do not buy a second plan that has to stay attached beside the first.
Read the maker’s page for that model and market
AOSP, last updated 2026-10-09 UTC, defines eSIM as a download of a carrier profile onto the eUICC, with remote provisioning specified by the GSMA. The local profile assistant is a system app that sits between the carrier’s profile server (SM-DP+) and the chip. The same page says the assistant and the eSIM OS must support at least GSMA RSP v2.0. A settings row does not display that version. Android 10 support for multiple eSIMs requires more than one eUICC, either built in or on a removable card in a physical slot.
Google’s Pixel pages are the model-level record, retrieved October 17, 2026. They are Pixel facts, not a rule for every Android phone.
- Pixel 4 and later: Google’s SIM page says all of these phones work with eSIM. Older Pixels are narrower. Pixel 3a phones bought with Verizon service or in Japan do not work with eSIM. Pixel 3 phones bought from US or Canadian carriers other than Sprint and Google Fi do not, and neither do Pixel 3 phones bought in Australia, Taiwan, or Japan. Pixel 2 works with eSIM only when bought with Google Fi. The 2016 Pixel does not work with eSIM.
- Two SIMs: a Pixel 3a or later can use one physical SIM and one eSIM, which Google calls Dual SIM Dual Standby. A Pixel 3a bought in Japan cannot have two SIMs. US Pixel 10 and later phones can only use an eSIM, except the Pixel 10 Pro Fold. The SIM page names the US Pixel 10, Pixel 10 Pro, and Pixel 10 Pro XL as phones that cannot use a physical SIM.
- Two eSIM profiles at once: Pixel 7, Pixel 7 Pro, or later, and only if the carrier allows it. The same dual-SIM page says you then have either two eSIMs or one eSIM and one physical SIM, based on the device and the carrier.
- Some Pixel settings steps work only on Android 11 and up. Pixel 4a (5G) and later phones in dual-SIM mode can connect to 5G. Some older physical SIM cards are not supported on Pixel 8 and later. The phone then shows “This SIM is no longer supported. Contact your carrier to get a new SIM.”
Pixel’s own menus, on Android 11 and up, are Settings, then Network & internet, then SIMs. Adding an eSIM on a phone that already has a SIM continues through Add SIM and Set up an eSIM. Samsung’s US SIM page uses a different path: Settings, Connections, SIM manager, then Add eSIM, then a QR scan, carrier discovery, or Transfer SIM from another phone. Samsung says to restart the phone to apply the profile. From SIM manager you can enable or disable the physical SIM or the activated eSIM, and Primary SIM sets the default for calls, texts, and data. Samsung also says some carriers do not support the eSIM capabilities of that Galaxy, and that eSIM may not be supported depending on the country of origin. Wi-Fi-only tablet models do not support eSIM.
Do not copy the Pixel path onto a Galaxy, or the Galaxy path onto a Pixel. Verizon’s monthly FAQ tells you to look up the SIM type in Settings, usually under About or About phone, and it says Android eSIM activation differs from iPhone activation.
A case that covers the SIM tray is an accessory fit question. Use the five-minute Android accessory compatibility check for the case, the tray tool, and the phone. That checklist does not answer eSIM eligibility. On Pixel phones the tray hole is on the left edge, and on Pixel 3 (2018) it is on the bottom edge. US Pixel 10, Pixel 10 Pro, and Pixel 10 Pro XL have no physical SIM to insert.
Figure 2. Example of the handset you identify before the carrier check. The photograph does not show a model number, an eSIM, or a carrier.
Match the carrier path, not the network name
Verizon’s FAQ for standard devices on standard monthly plans, retrieved October 17, 2026, separates three jobs. Switching to Verizon uses the My Verizon app or the bring-your-own-device page. Adding a line to an existing account uses the Add a Line page, or Shop then Bring your device in the app when the phone is in hand. Changing the device on an existing line is a different FAQ. Prepaid and business lines are outside this page.
The same FAQ says the phone has to be unlocked from any carrier other than Verizon. After that unlock, activation can take up to 24 hours. Some Android phones need a QR code during new-line setup. Verizon says the code arrives during setup and that you should follow the steps for that device. iPhone 12 and newer, on that page, do not need a QR code. That iPhone sentence is not an Android rule.
T-Mobile’s prepaid eSIM app page, retrieved October 17, 2026, is narrower. The app activates a T-Mobile prepaid line only. Postpaid is a different path. The phone must be an iPhone or Android with eSIM, on Wi-Fi or cellular data, bought from T-Mobile or already SIM-unlocked, and you must be in the United States while activating. The page says there is no fee to activate a device with an eSIM. The message “Looks like your device isn’t compatible” means the phone has no eSIM or is still locked to the carrier that sold it. For a Samsung phone, T-Mobile’s instruction is to make sure that phone supports eSIM, then ask the original carrier for an unlock if it is locked.
T-Mobile’s Android eSIM troubleshooting page adds four steps before another purchase: confirm the phone is unlocked if T-Mobile did not sell it, confirm Wi-Fi works, update the software, and restart. AOSP’s modem requirements, last updated 2026-10-09 UTC, add a hardware distinction. If the eSIM is subsidy-locked, the modem reports the card state as restricted. A restricted card is a lock, not proof that the eUICC is missing.
When you call the carrier, Pixel’s dual-SIM page says you may need IMEI 1, IMEI 2, or the EID. Use the field the carrier’s form names. Do not paste an activation QR code into a public thread.
Count enabled profiles separately from stored ones
AOSP’s multiple-enabled-profiles page, last updated 2026-10-09 UTC, says Android 13 and higher can keep more than one profile enabled on a single eSIM chip and connect to two carriers at the same time. Phone makers have to integrate that with the system-on-chip vendor and the eSIM chipset vendor. Android 13 on the about screen is not that integration.
On a phone that supports it, the eSIM slot has multiple eUICC ports, and each port can hold one enabled profile. Each port links to at most one profile. Android 12 and lower, without this feature, support a single enabled profile on that slot, so the slot cannot do dual-SIM dual standby.
Worked example. Take the dual-carrier case in that Android 13 section: 2 ports, and at most 1 enabled profile on each port. 2 × 1 = 2 enabled profiles. A third downloaded profile is not a third live line on those two ports. The 2 is the dual-SIM architecture in the document, not a count read from a handset for this page.
Rule of thumb. If you need two eSIM profiles enabled together, require both a phone the maker names for that behavior and a carrier that allows it. On Pixel phones the maker’s line is Pixel 7, Pixel 7 Pro, or later. Android 13 by itself fails that test.
Pixel then asks you to pick the primary SIM for calls, texts, and mobile data. Only one SIM can be the default for data. On Pixel 8 and Pixel 8 Pro and earlier, you cannot receive a call on the other SIM during a call. Those calls go to voicemail. Data during the call uses the SIM that is on the call, unless you turn on Data during calls. On Pixel 8a and later, both SIMs can handle calls at the same time, with the first call on hold, only when mobile data is on for both SIMs, automatic data switching is on for the second SIM, and the carrier supports Wi-Fi calling for the second SIM. If the phone shows “Voice unavailable” or “Voice interruptions,” Google says the two networks are having trouble together and tells you to contact the carrier.
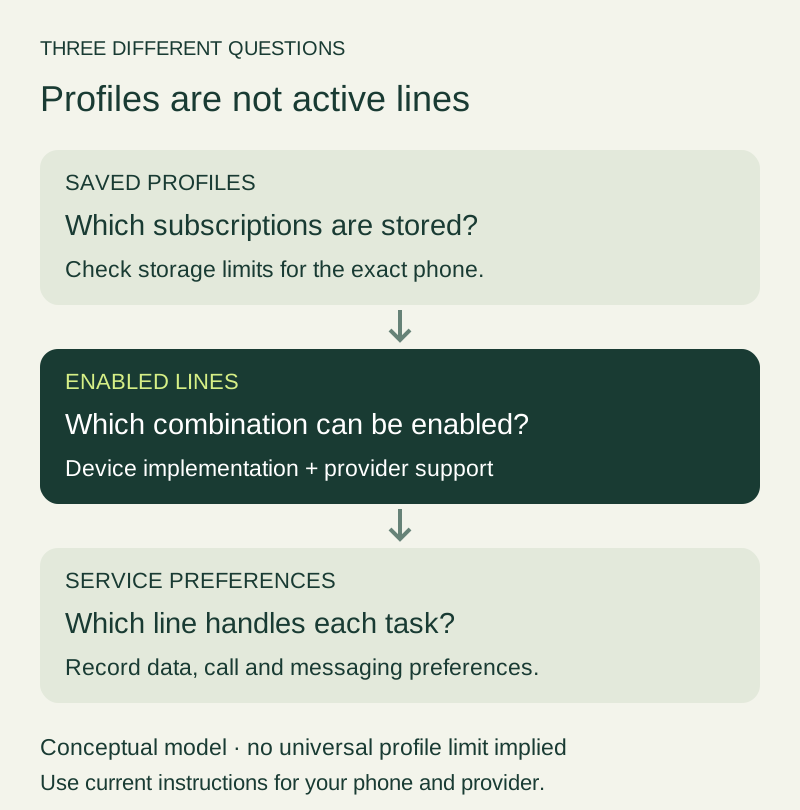
Figure 3. Storage, enabled lines, and service preferences answer different questions. The diagram does not set a universal storage limit.
After the download, confirm the line you will use
AOSP’s modem page says that when no operational or test profile is enabled, the default boot profile is enabled. The modem treats that boot profile as a valid SIM and does not power the SIM off. A “valid SIM” report can therefore be the boot profile rather than the carrier plan you just bought.
Samsung’s US page says to restart after the profile downloads so the profile applies. T-Mobile’s prepaid app loses the setup if the data connection drops, and it lists three reasons to replace an eSIM: you deleted it, you moved the line to a new phone, or the download stopped before install. Moving the line from one iPhone to another can use Quick Start or iPhone settings. Any other transfer, including an Android upgrade, is a call to T-Mobile at 1-877-778-2106 with the prepaid number or the OrderID and the PIN you set in the app. Verizon’s monthly FAQ, if you delete the profile, sends you to its move-line instructions rather than promising an instant reinstall on that page.
On a Pixel phone the delete path is Settings, Network & internet, Mobile network, the eSIM, then Erase eSIM. A separate control under Security, Advanced, Confirm SIM deletion can require a password first. Some of those steps need Android 11 or later.
Worked example. Verizon’s unlock wait is up to 24 hours. 24 × 60 = 1440 minutes after the previous carrier unlocks the phone before a failed Verizon activation is evidence of anything other than that wait. The 24 hours is Verizon’s stated maximum for a standard monthly activation, not a measurement from a handset on this page.
The costs that show up before any bill are that wait, a deleted prepaid profile that needs a replacement download or that phone call, and a Pixel 8 or earlier call that parks the other line in voicemail. Record the model, the market, the software version, the carrier page, the plan name, and which line you assigned to data.
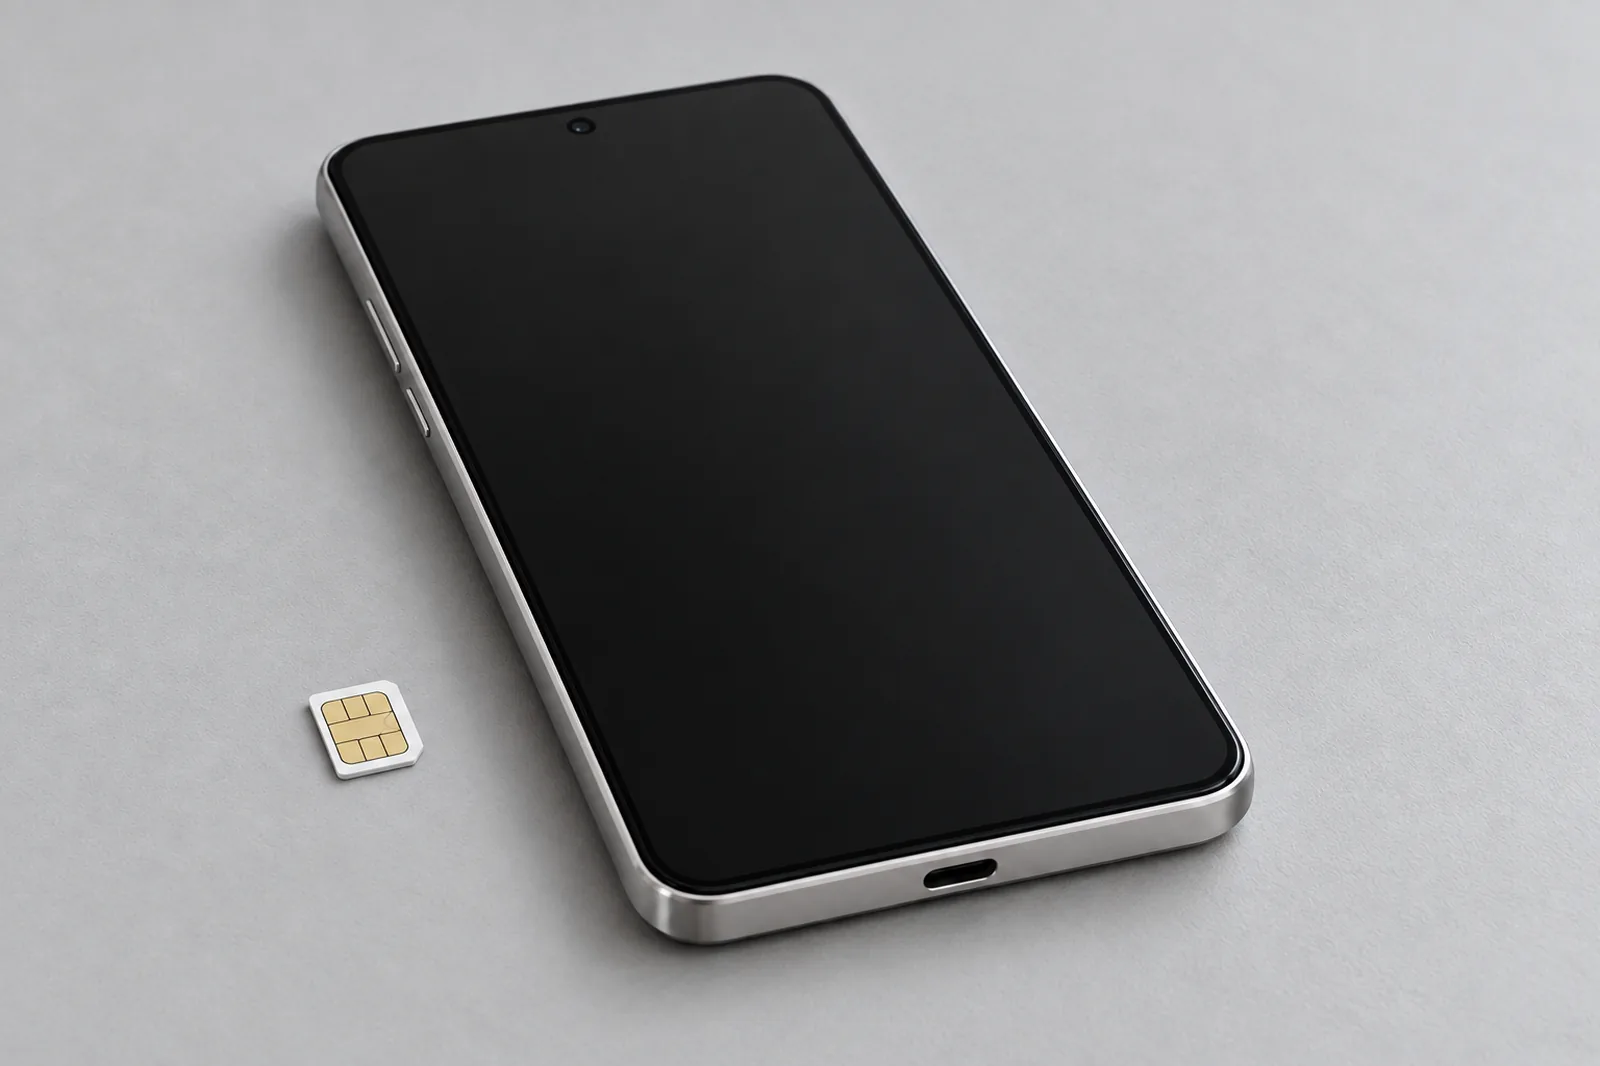
Figure 4. A nano-SIM is a separate object from an eUICC profile. The photograph does not show that this phone can download a profile.
Sources and method
Checked October 17, 2026. Each claim above is limited to the page cited.
- Implement eSIM, last updated 2026-10-09 UTC. eUICC profile download, Android 9 APIs, local profile assistant, GSMA RSP v2.0, and Android 10 multiple eSIMs.
- Multiple enabled profiles, last updated 2026-10-09 UTC. Android 13 single-chip dual carrier, required vendor integration, one profile per port, and the Android 12 single-enabled-profile limit.
- Modem requirements for eSIM support, last updated 2026-10-09 UTC. Default boot profile and restricted card state on a subsidy lock.
- How to use dual SIMs on your Google Pixel phone. Model and market limits, two-eSIM conditions, Pixel menus, call behavior, and IMEI or EID.
- Get a SIM or eSIM and add it to your Pixel phone. Which Pixel generations work with eSIM, and the US Pixel 10 physical-SIM limit.
- SIM cards for your Galaxy phone or tablet. Galaxy SIM manager path, restart, country of origin, and Wi-Fi-only tablets.
- Which Galaxy phones support an eSIM?, last update September 21, 2026. Australian-variant spec check for Embedded-SIM.
- Activating your eSIM device on a standard monthly plan. Monthly versus prepaid, unlock wait, and Android QR-code setup.
- T-Mobile Prepaid eSIM app. Prepaid-only activation, US location, unlock, and profile replacement.
- Android eSIM troubleshooting. Unlock, Wi-Fi, software update, and restart before another attempt.
Related articles
USB-C DisplayPort Alt Mode: Android Phone Support List
Samsung's DeX cable and HDMI series, Google's Pixel 8 and later wired steps, and the VESA lane rates behind a USB-C DisplayPort adapter.
Read article
USB-C Video Output on Android: How to Check Before Buying a Dock
Confirm the phone's documented video path, then separate DisplayPort lanes, a 60W or 240W cable logo, and a PPS charger before you buy a dock.
Read article
Will a Phone Case Stop Wireless Charging?
Decide whether a phone case stopped wireless charging by checking material, coil alignment, and heat, with the millimeter cell left blank.
Read article