
Update Head Unit Firmware for Android Auto
Identify the right receiver update, prepare its USB files, check MCU package limits, and verify the version before retesting Android Auto.
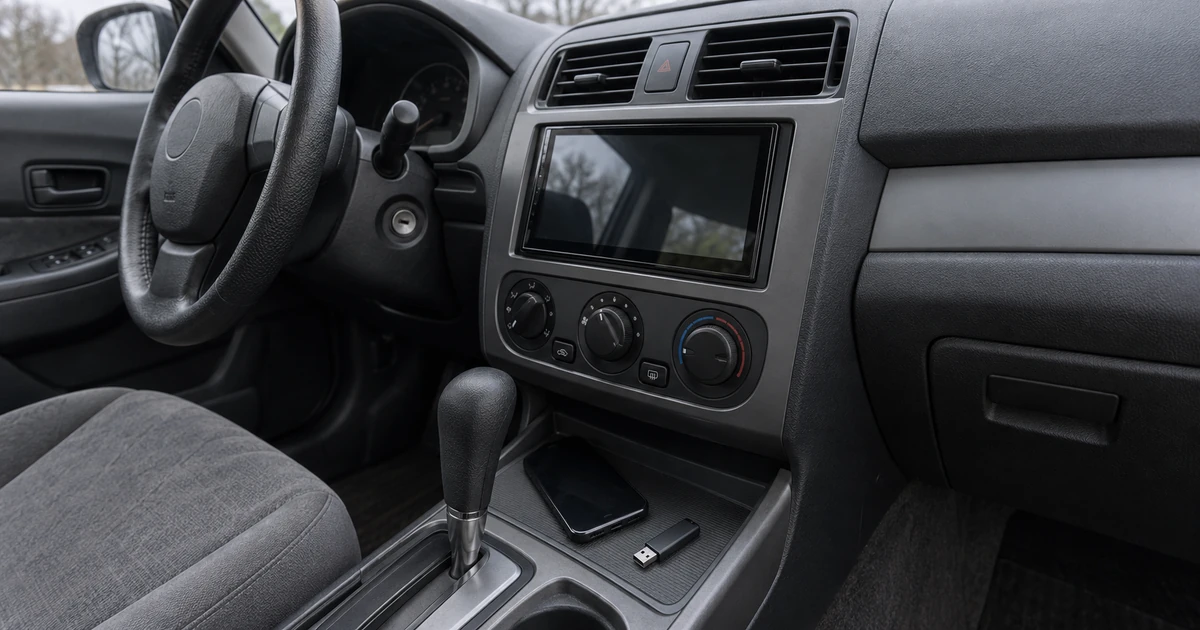
Example of update preparation with a receiver, USB flash drive and phone in a parked car; no particular receiver or tested installation is depicted.
Installing the wrong head-unit firmware can leave you with a bigger problem than an Android Auto black screen. Match the official update to your exact receiver and installed version, follow its own installation instructions, then verify the new version and retest the same connection.
This guide helps you decide what to update, prepare the files, and check the result. It includes a narrowly scoped receiver example and an MCU package checklist; it doesn’t offer a universal flash file or promise that an update repairs every connection failure. Start with the Android compatibility collection if you haven’t established whether the intended setup is supported.
Quick checks
- Identify the receiver, its market variant, and its current software before downloading anything.
- Separate receiver firmware from phone software, adapter firmware, and any separately listed MCU package.
- Use the USB format, files, port, power arrangement, and completion instructions specified for that update.
- Record both the installed version and the Android Auto result afterward; they answer different questions.
Identify which device needs an update
An Android Auto problem doesn’t tell you which device needs new software. Google’s troubleshooting guidance directs aftermarket-receiver users to check the manufacturer’s website for firmware, alongside basic car and USB checks. Identify your actual connection before choosing an update channel.
Scroll horizontally to see all columns.
| What you’re checking | Where to look | What to keep separate |
|---|---|---|
| Phone-side Android Auto or Android software | Official phone and Google update channels | A receiver USB firmware package |
| Aftermarket receiver firmware | Exact receiver’s official support page | Another model’s package, even from the same brand |
| Wireless bridge or adapter | That adapter’s official instructions | Native wireless operation built into the receiver |
| A separately listed MCU update | Receiver’s own package description and instructions | Android system, application, or CPU packages |
Some receiver instructions identify several update components. For example, the JENSEN two-part firmware document distinguishes CPU and MCU stages. That distinction is a reason to read the package instructions, not evidence that every receiver needs those stages or shares their order.
If your phone connects through a USB wireless bridge, write down that product too. The wireless adapter connectivity guide explains why the bridge belongs in the connection record. Updating the receiver while overlooking the adapter leaves a different software path unchecked.
Takeaway: Name the device and software component before searching for its update.
Record the model before choosing firmware
Use the complete model identifier and the software-information screen, rather than a screen size or a seller’s broad product title. The update page should explicitly cover that model and the installed version. Treat any unclear suffix, market variant, or hardware identification as a question for the product’s support channel.
Make a preparation record:
Scroll horizontally to see all columns.
| Item | Where to obtain it | Why you need it |
|---|---|---|
| Full model and regional variant | Product record, accessible label, or official information screen | Match the supported product |
| Current system and application versions | Receiver’s documented information menu | Check the applicable update component and starting version |
| MCU identifier, if separately displayed | Model-specific information page | Let support identify the correct MCU package |
| Update title, instructions, and release notes | Official model support page | Check the component, installation sequence, and relevance to the symptom |
| Current symptom and connection | Your parked observation | Repeat the same check after the update |
| Customized settings | Your own notes or permitted screenshots | Restore settings if the package resets them |
Don’t remove dashboard trim to find a label as part of this guide. If the documentation and accessible information screen can’t identify the unit, ask the installer or supplier using the purchase record. The device compatibility checklist can help organize the product details without guessing missing fields.
Common mistake: Treating matching firmware version numbers as proof that files are interchangeable. Pioneer’s version 3.09 technical note expressly requires a separate package for each listed receiver model.
Takeaway: A supported model and applicable starting version are prerequisites to file preparation.
Prepare the USB drive for that package
Read the storage and file instructions attached to your chosen update. USB requirements can differ between official guides, so a drive that works for one receiver isn’t a universal reference. Save any personal files before formatting; use the preparation method the package specifies.
These examples illustrate the difference, not a recommendation of either product:
Scroll horizontally to see all columns.
| Official example | Documented USB requirements | Scope |
|---|---|---|
| Pioneer version 3.09 technical note, including DMH-W4660NEX | Blank drive, at least 512 MB, FAT32 or NTFS | Models listed in that note, with each model’s own package |
| KENWOOD 2022 system-update guide, including DMX809S | USB 2.0, 8–32 GB, FAT32 | Models and starting versions in that system-update guide |
Sources: Pioneer technical note and KENWOOD system-update PDF. These are package-specific requirements, not Android Auto cable specifications.
Check what the download instructions actually want on the drive. Copying an archive, copying its containing folder, and copying the extracted update files are different actions. Preserve the required filenames and placement; don’t rename a file to make it resemble another model’s package.
Before approaching the receiver, compare the prepared drive against the file list in the guide. Confirm the package came through the manufacturer’s support page. If that page leads to external storage, preserve the support-page link establishing the relationship rather than using a standalone shared file you found elsewhere.
For the separate task of connecting your phone after the update, use the Android Auto cable checklist. A phone cable and update media serve different purposes.
Takeaway: Prepare the drive from the selected package’s instructions, not from a generic firmware tutorial.
A scoped example: DMX809S system firmware
The KENWOOD download page separates system and application updates. Its linked system guide covers DMX809S starting at Ver 111 or earlier, updating to V112. This example covers that system stage only; use the current model page to check any additional application stage.
For DMX809S, that system release note lists an HD Radio improvement. The Wi-Fi and wireless Android Auto reset-setting notes appear under application firmware. The system example below demonstrates an installation sequence; those notes don’t establish a black-screen repair.
For that documented system stage:
- Open HOME → application menu → SETUP → System → System Information. Read System Version.
- Place extracted 22ENT_SYS.upd and upd_info.dat at the USB root, unchanged. No audio files; a blank drive is recommended.
- Park safely. The guide requires the engine running; use an appropriately ventilated location, never an enclosed garage.
- Choose Update beside System Version, then connect the drive.
- Keep USB and power connected, including during a brief blank screen. At completion, remove the drive, cycle power as directed, and confirm System Version V112.
These steps summarize the official system guide; keep it open for its screenshots and complete precautions. Don’t transfer this menu path, file pair, or restart sequence to a different receiver.
Takeaway: Follow one identified update stage through its own version check before moving to another.
Treat MCU firmware as a separate decision
An MCU package needs its own confirmed match. A receiver showing an Android version does not, by itself, identify which MCU file or installation order applies. If the manufacturer’s instructions list MCU software separately, use that classification and ask support to resolve any ambiguity before installing it.
For an Android-based aftermarket screen, preserve the details the supplier uses to identify its build. The useful question is specific: “Does this package apply to this exact unit and current MCU identifier, and what other update stage, if any, accompanies it?”
Scroll horizontally to see all columns.
| Confirm with the supplier | Useful material to provide |
|---|---|
| Exact product and hardware applicability | Purchase model and accessible identification information |
| Matching current software | System, application, and MCU information, where displayed |
| Required package and order | Official package title and instructions you’re considering |
| Expected changes or erased settings | The applicable release notes and your current configuration |
| Recovery route if installation fails | Official support instructions for that precise product |
This is a documentation checklist, not a flashing recipe. Don’t infer compatibility from a processor name, a similar interface, a shared screen size, or another owner’s successful update. Ask the supplier which identifiers matter for your unit; leave unanswered fields unresolved.
Common mistake: Selecting “MCU Update” because the current symptom is a black screen. The symptom does not establish the correct software component or authorize a package from a similar unit.
Takeaway: An unidentified MCU package is a reason to ask for a match, not to try it and see.
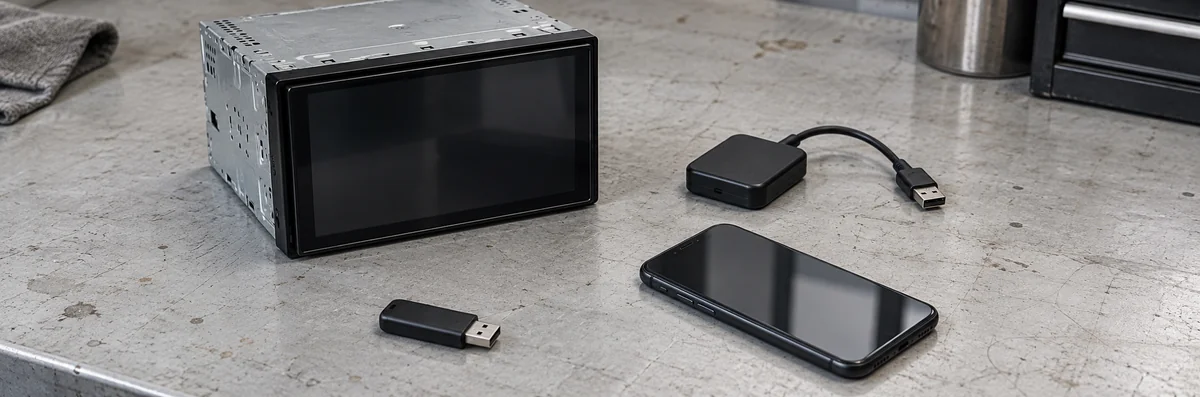
A black screen needs a symptom branch
Describe when the screen goes blank before treating it as a firmware fault. The KENWOOD system guide says a brief blank screen can occur during its update. A blank projection screen after startup, or a receiver that cannot display its own menus, is a different observation requiring a different next step.
Scroll horizontally to see all columns.
| Observation | Useful next action | Avoid concluding |
|---|---|---|
| Screen briefly goes blank during the documented update | Follow that guide’s interruption and completion instructions | The update has failed merely because the display went blank |
| Receiver menus work, but Android Auto is black | Record whether direct USB and wireless behave differently | The receiver’s MCU is necessarily faulty |
| Receiver menus also fail outside Android Auto | Describe the whole-device symptom to receiver support | A phone app update will necessarily repair it |
| Display never returns and completion is unclear | Record the last message and use the official failure/support route | An arbitrary power cycle or another package is a safe recovery |
After installation has definitely completed, use the Android Auto disconnection check order for a connection that still fails. Google’s troubleshooting page includes checking that Android Auto is enabled and restarting the infotainment system; use the receiver’s documented restart method.
If a supported direct USB session works while wireless doesn’t, compare the wired and wireless connection paths. That result narrows the report without proving a Wi-Fi or firmware defect. If projection works and only music stutters, the wireless audio troubleshooting guide is the more relevant next task.
Takeaway: Keep an update-in-progress display change separate from a post-update projection failure.
Verify the version, then the connection
A changed version confirms an installation result, not an Android Auto fix. Return to the documented information screen after the receiver finishes the required restart. Then reconnect the same phone through the same supported path and record what happens, keeping unrelated changes out of this comparison.
Use a blank record like this:
Scroll horizontally to see all columns.
| Check | Before | After |
|---|---|---|
| Receiver system and application versions | Record displayed values | Record displayed values |
| MCU version, if that stage was updated | Record value or “not applicable” | Record value or “not applicable” |
| Phone, software, cable/adapter, and port | Record exact arrangement | Retain it or note every difference |
| Receiver’s own menus and audio | Describe observed operation | Repeat the same observations |
| Android Auto launch and display | Describe the failure stage | Record whether the same stage passes |
| Remaining symptom | Describe it plainly | Record improvement, recurrence, or a new issue |
Check the release instructions for settings that need restoring. Pioneer’s version 3.09 note says that update restores receiver settings to factory defaults; don’t assume your customized setup survived. Keep installation-related restoration separate from additional troubleshooting experiments.
For a supported wireless setup, Google’s setup page describes initial Bluetooth pairing and keeping Bluetooth, Wi-Fi, and Location Services enabled during setup. Reconnect according to the product prompts while parked. Removing saved connections is a separate action; don’t erase everyone’s pairings without understanding the effect.
If the initial parked check succeeds, record that limited result. A fault that appears later in normal use needs follow-up observations made after parking; don’t operate settings or provoke a disconnect while driving. Use the record when asking the device’s official support which model-specific check comes next.
Takeaway: Verify installation and connection behavior as two distinct outcomes.
When this does not apply
Stop the installation step if the receiver, package, starting version, or instructions cannot be matched. This guide doesn’t cover factory-installed vehicle firmware, engineering menus, modified packages, forced recovery, or hardware repair. A named update option is not permission to substitute another product’s files.
It also doesn’t establish that firmware adds wireless Android Auto to an unsupported receiver. Check the documented feature and intended mode before treating an update as an upgrade path. The broader Android device guides help separate capability questions from troubleshooting an existing setup.
If the power arrangement required by the manufacturer cannot be maintained safely, ask the installer or support how to proceed. Do not improvise a vehicle power or recovery procedure from this article.
Takeaway: An unresolved match or unsafe installation condition is a stop condition.
FAQ
How to update Android Auto version?
On your phone, open Play Store → profile icon → Manage apps & device → Updates available → See details. If Android Auto is listed with an available update, choose Update. Google’s app-update help also explains the Update button on an app’s details page. If no update is offered, don’t substitute a receiver package.
How do I reset my Android head unit?
Use the reset command in that unit’s own manual or settings menu; there is no universal key combination for every head unit. Before using it, ask which saved settings, connections, or account information it removes, and how you’ll restore them. Have the required account access and configuration record ready. A reset recommended after a completed update is not permission to interrupt an installation.
How do I update the firmware on my car stereo?
Download the package for your exact model from the manufacturer’s support page, prepare the USB drive as its guide specifies, install it while parked with power maintained, and confirm the new version afterwards. If your current version already meets the guide’s target, don’t assume reinstalling the same package is a supported repair. Ask the manufacturer’s support whether the next step is another component’s update, a documented reinstallation, or a different diagnosis. Preserve the version and error details for that request.
How to update firmware manually?
A manual update normally means copying the official package to a USB drive and starting it from the receiver’s update menu, as the model’s guide describes. If the package isn’t recognized, recheck its required filenames, extracted contents, root placement, and media specification before changing the receiver. Don’t keep renaming files to force detection. If the prepared media matches the instructions, report the exact on-screen response to support; it doesn’t identify which component failed.
Can I update Android Auto in my car?
Google describes Android Auto as phone technology connecting to the car display. Don’t expect a receiver firmware menu to update the phone-side app. Complete phone-side app management on the phone while parked; use a receiver menu only for the receiver procedure its manufacturer documents.
Can I update a generic Android head unit?
Only with a package the supplier confirms for that exact unit. If the original listing has disappeared, send the supplier the order identifier, accessible product details, and software-information screen through its support channel. Ask it to identify the exact unit and applicable package in writing. Don’t publish private order or account details in a forum to obtain a speculative file match.
Method and sources
This is a documentation-based guide, not a report of installations or repairs performed by this publication. The comparison tables and observation record organize the official instructions into a check order. Manufacturers’ release notes describe intended changes; they don’t establish that a particular user’s black screen has been fixed.
Official sources checked October 9, 2026:
- Google: Android Auto troubleshooting — receiver, USB, and basic connection checks.
- Google: Android Auto setup — supported setup paths and parked pairing.
- Google Play: updating Android apps — phone-side update controls.
- KENWOOD: 2022 receiver firmware page and system-update guide — scope of the DMX809S system example.
- Pioneer: version 3.09 technical note — model-specific packages, media requirements, and reset consequences.
- JENSEN: two-part firmware instructions — example of separately identified CPU and MCU stages, not an installation guide for other units.
See our research methodology for how documentation and illustrations differ from testing. Consult the receiver’s current support page before downloading; the examples above are scoped documents, not a cross-brand list of the latest firmware.
Takeaway: Use this check order to prepare and interpret an update, and the exact product guide to perform it.
Related articles
AAWireless TWO vs MA1 vs CarlinKit 5.0: Features
Compare documented Android Auto compatibility, app controls and update paths, with a repeatable method for checking connection speed, heat and dropouts.
Read article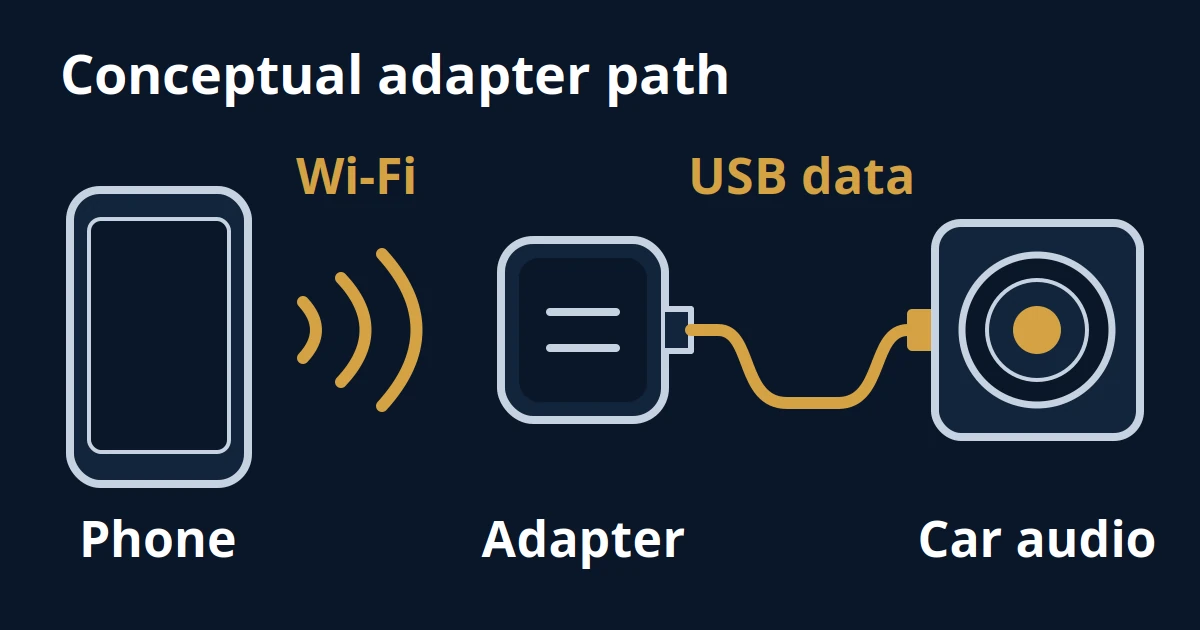
Wireless Android Auto Audio Stutter: A Fix Order
Separate music gaps from sound delay, check documented adapter controls, and compare dashcam or hotspot Wi-Fi changes with a reversible record.
Read articleWireless Android Auto Adapters and In-Car Connectivity Guide
Cut the cord in your car. How plug-and-play wireless Android Auto dongles connect over Bluetooth and 5GHz Wi-Fi, resolve latency, and maintain stable projection.
Read article